
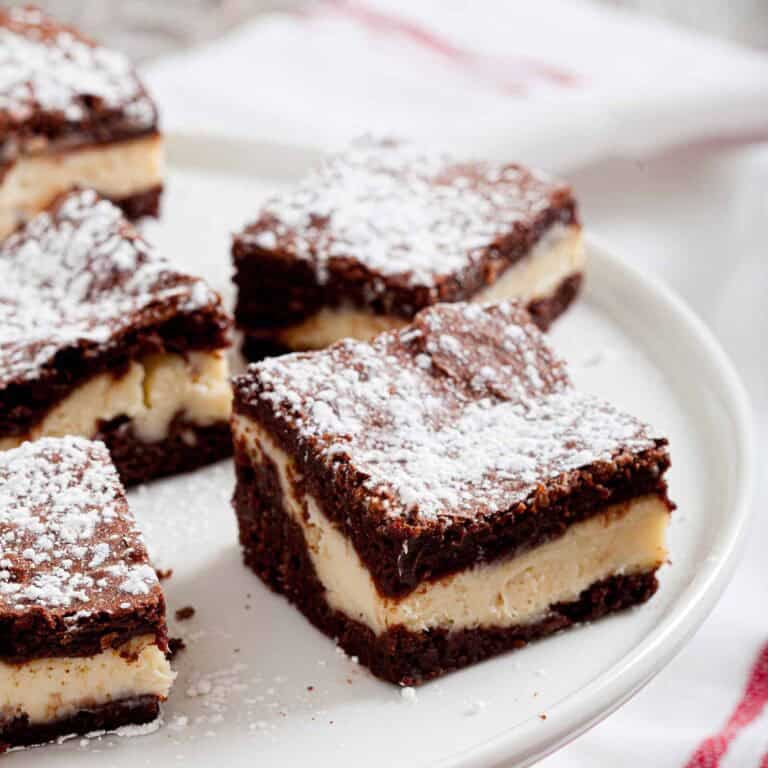
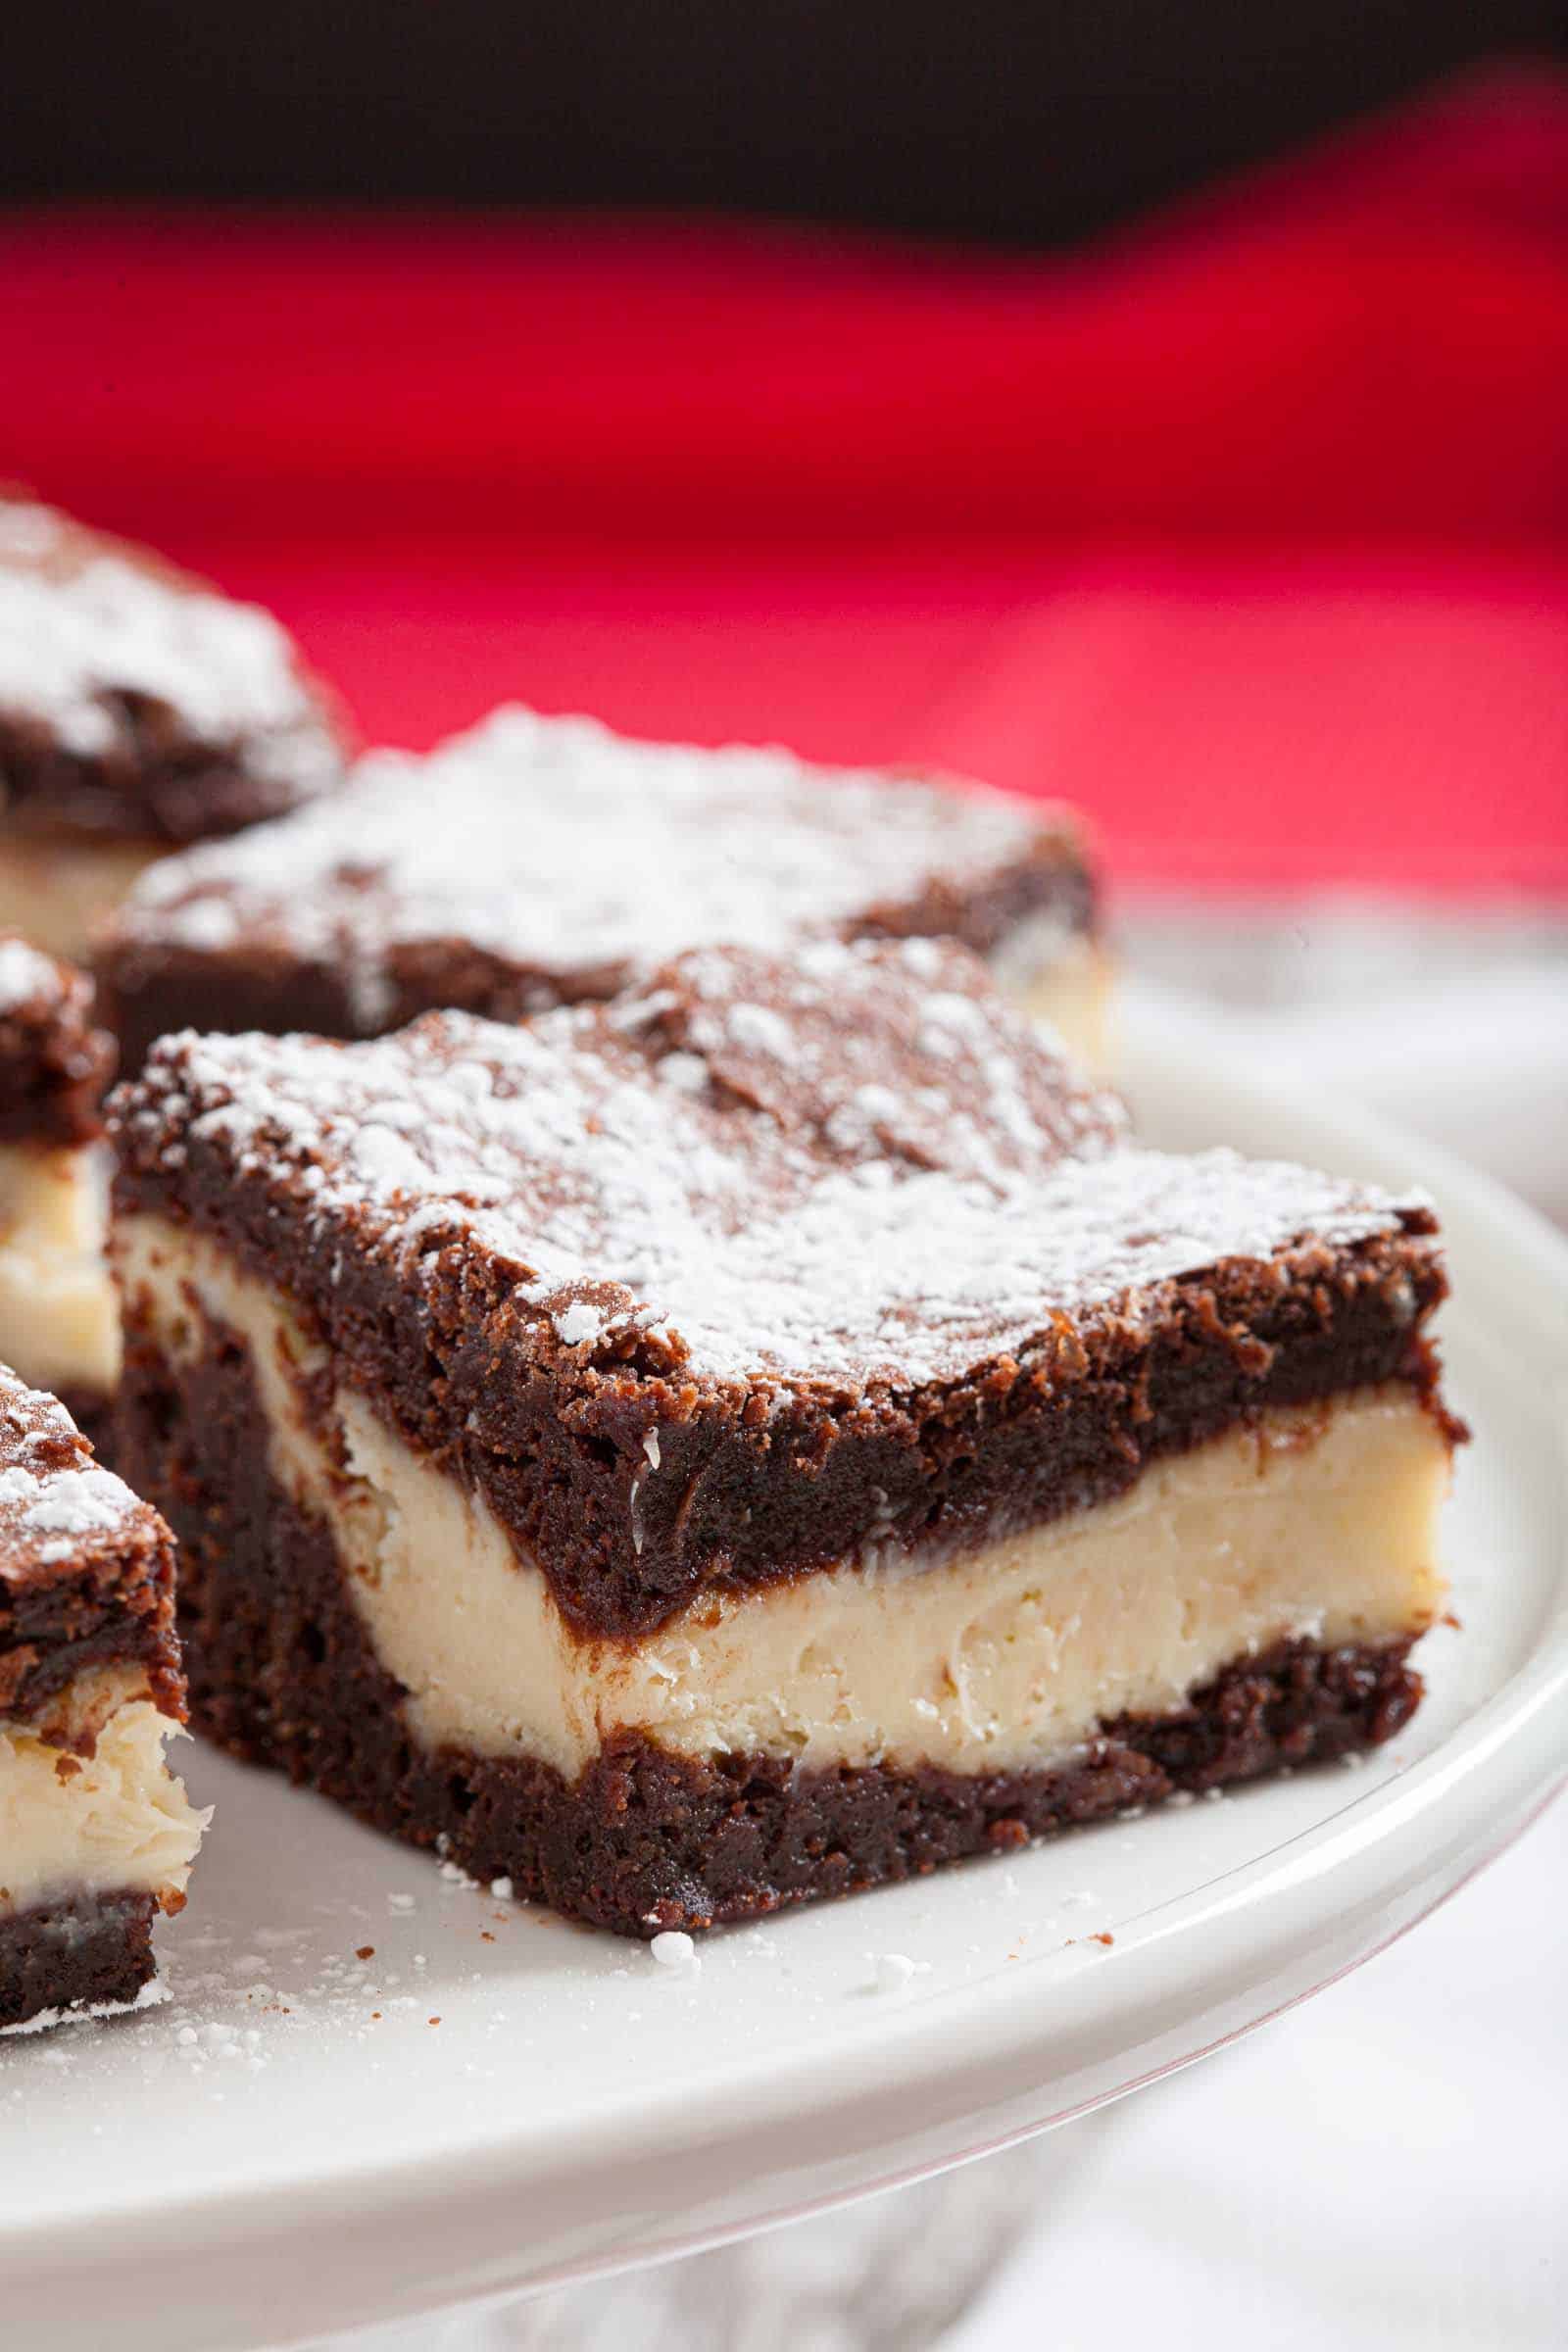
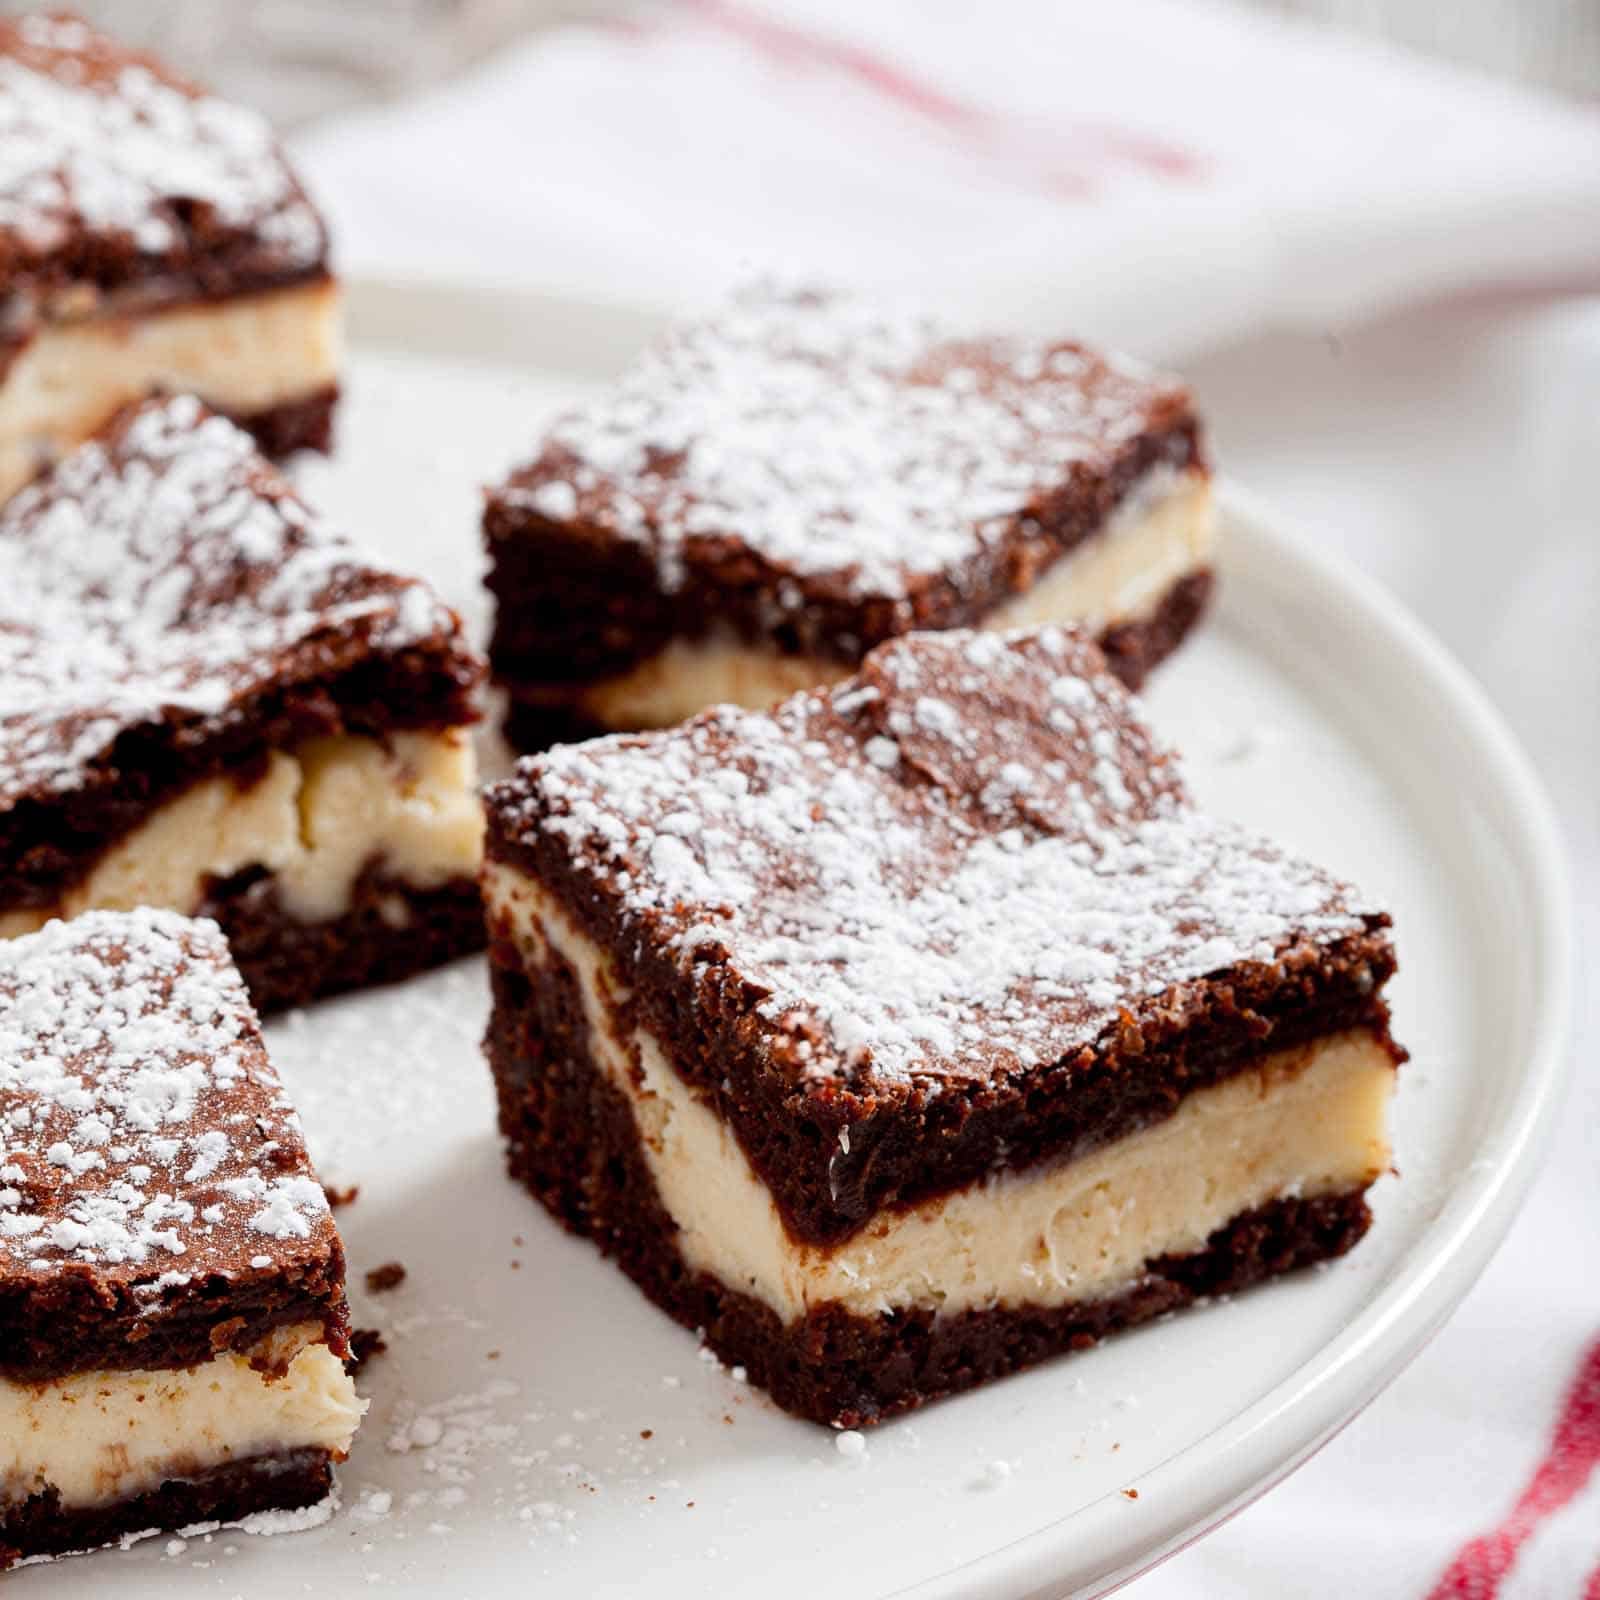
Can’t pick between brownies and cheesecake? Good news: you don’t have to. This Cheesecake Brownie recipe has a thick layer of creamy cheesecake right between two layers of chewy, fudgy chocolate brownie. It uses simple staples like chocolate, butter, eggs, and cream cheese, and it all comes together in one 8-inch pan. It’s different from other recipes, as the cheesecake layer sits between brownie layers, so you can really taste both of the flavors. Bake a batch this weekend and watch it disappear.
In This Article
This post may contain affiliate links, at no additional cost to you.
Amy’s Notes

I love super moist, fudgy brownies. I’m also a huge fan of cheesecake. If you search my site, you’ll find a delicious collection of both. I’ve finally brought these 2 favorite desserts and made it into a one-pan dessert that owns big flavors. You get a fudgy chocolate base and a thick, creamy cheesecake layer in every square. They look like you spent way more time than you did.
- Make-ahead friendly: they slice even better after a night in the fridge.
- Freezer-friendly, so you can tuck a few squares away for later.
- Rich and fudgy brownie layers with a smooth, tangy cheesecake center.
- One 8-inch pan and simple staples. Love bar desserts? Browse our easy dessert bar recipes or try our chewy Congo bars recipe.
Key Recipe Ingredients
- Unsweetened and bittersweet chocolate: These two team up to give the brownies their deep, rich chocolate foundation without tasting overly sugary.
- Salted butter: Adds richness, and a little salt keeps the chocolate from tasting flat.
- Regular cream cheese: Let it soften to room temperature so the cheesecake layer bakes up smooth with no lumps.
- Large egg yolks: Added to the cream cheese filling to keep it rich and stable while baking.
Substitutions and Variations
- Swap the bittersweet chocolate for semi-sweet chocolate if you prefer a sweeter brownie.
- Toss in a handful of chopped walnuts or chocolate chips to the batter if you want extra texture.
- Want another chocolate bar with zero oven time? Try our no-bake chocolate peanut butter bars.
- Swirl a few spoonfuls of raspberry jam into the cheesecake layer before adding the top brownie layer.
Step-by-Step Recipe Instructions
- Prepare your baking pan by lining it with foil and greasing it up so everything comes out easily later.
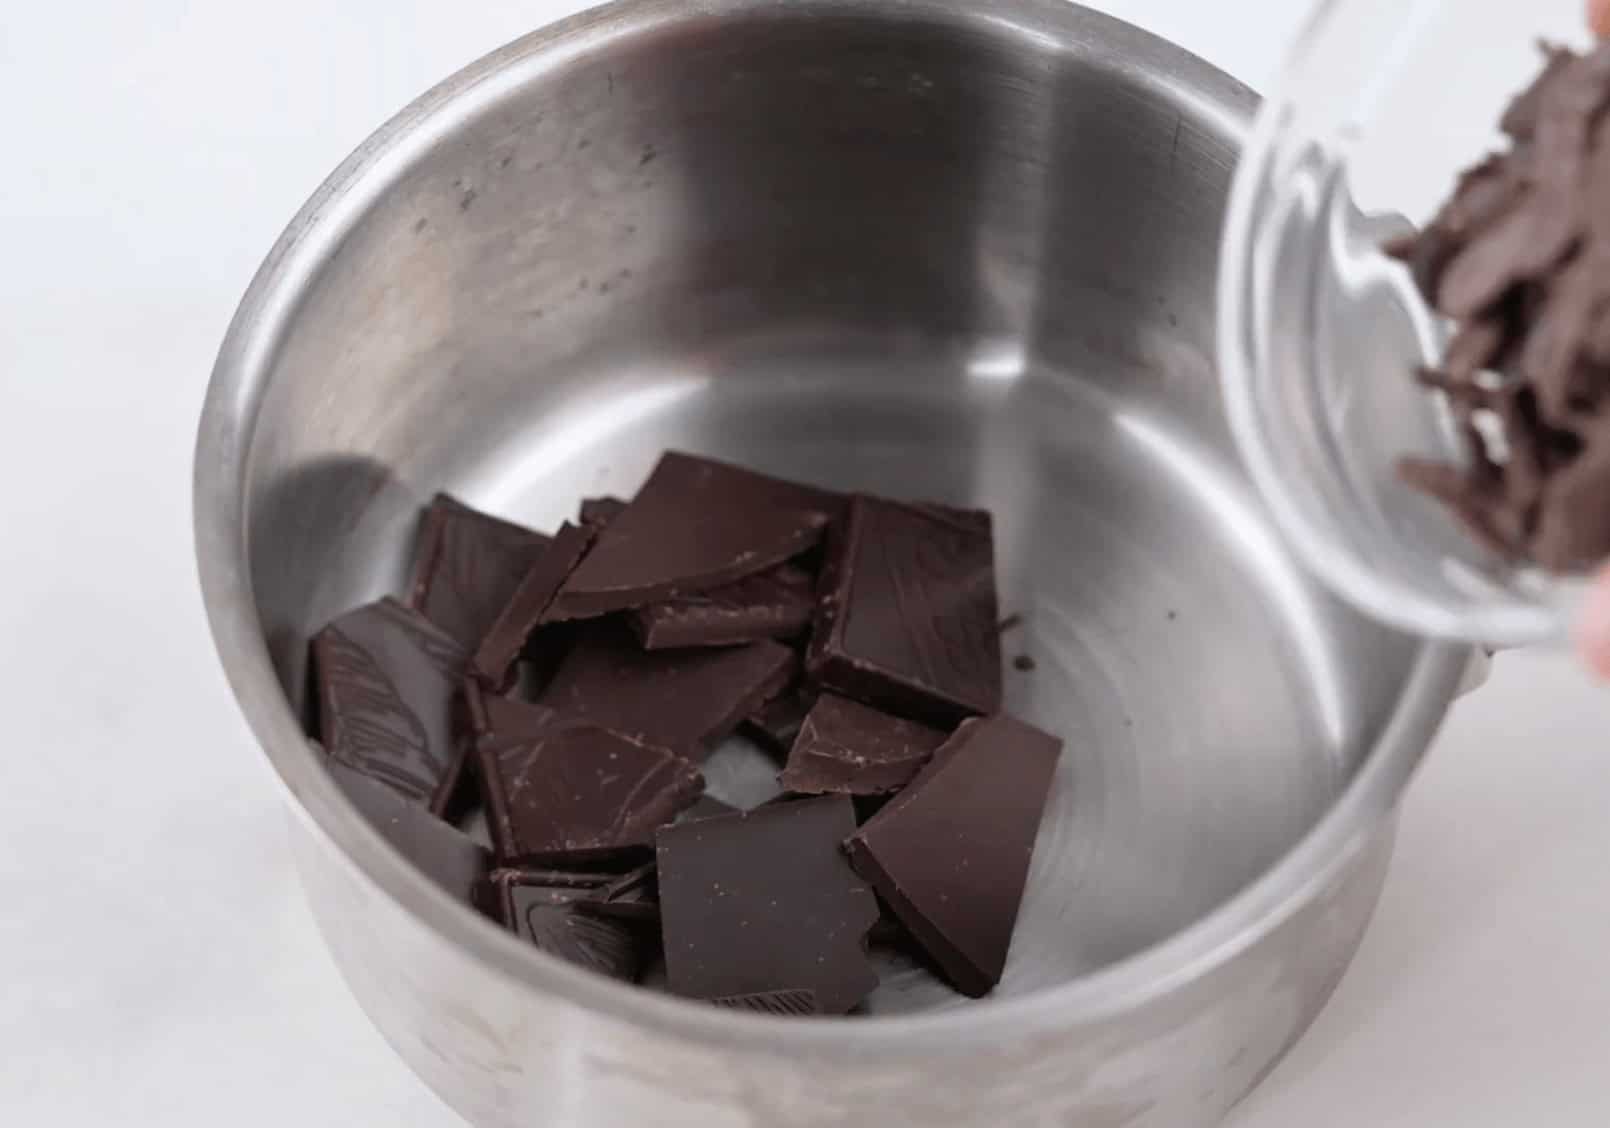
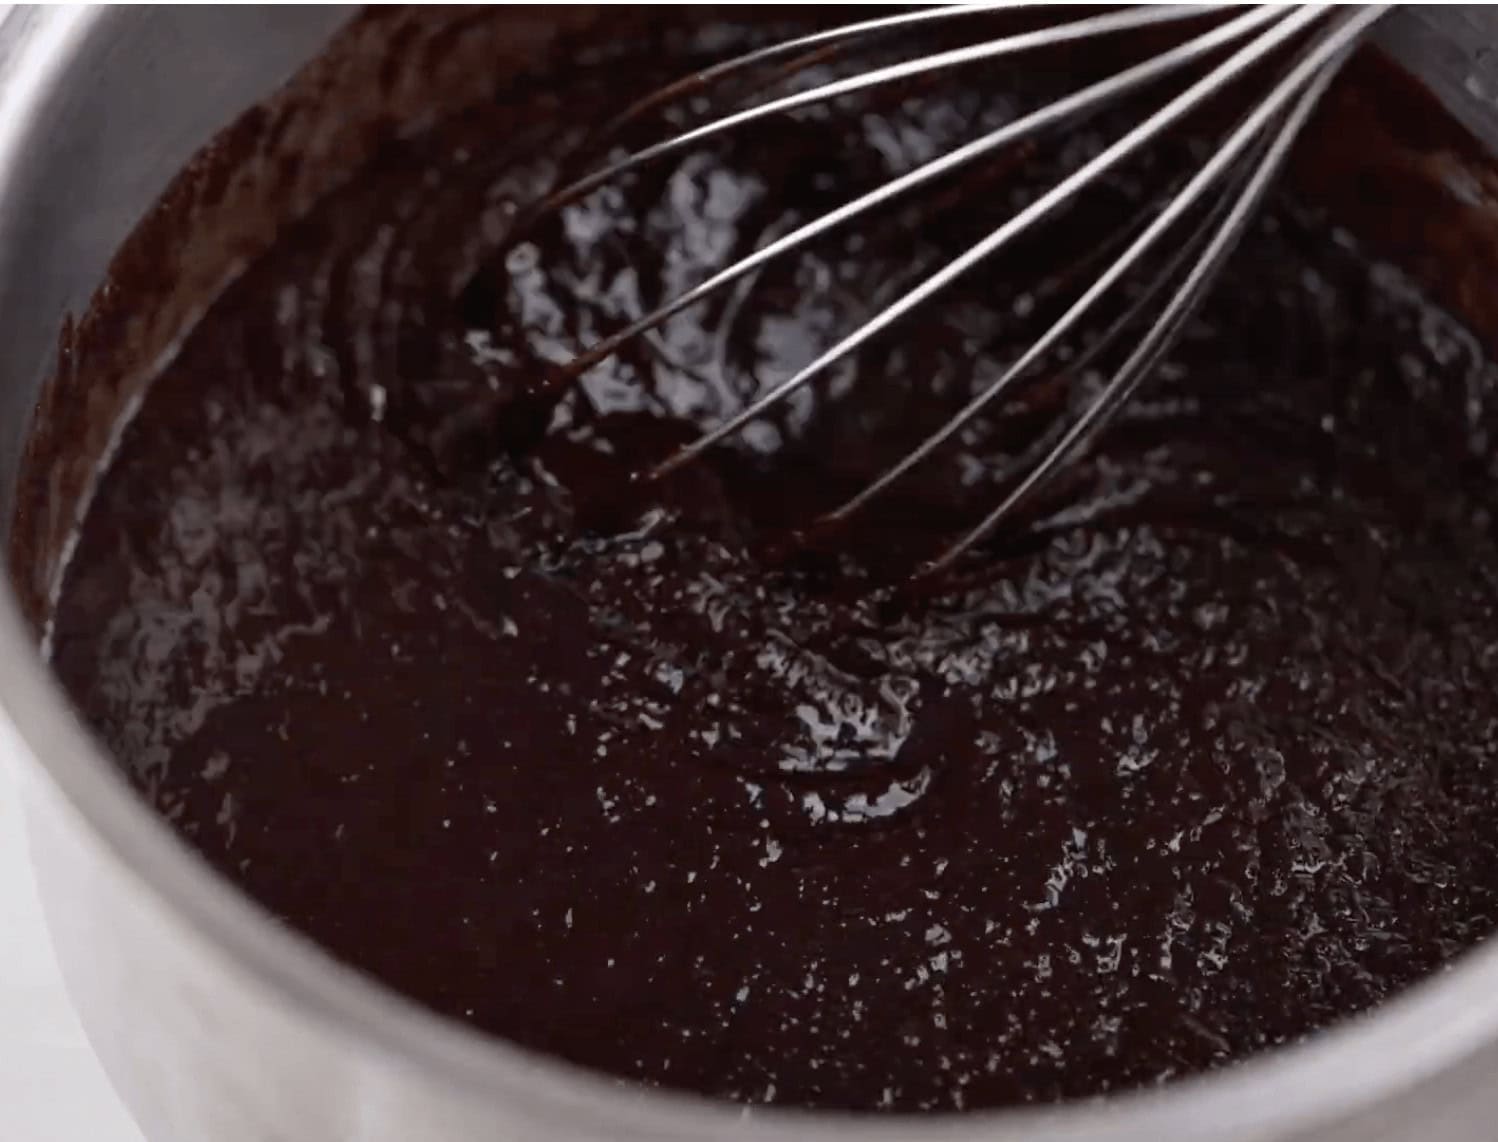
- Melt your chocolate and butter together until smooth, then whisk in your sugar, eggs, and dry ingredients to form the rich brownie batter.
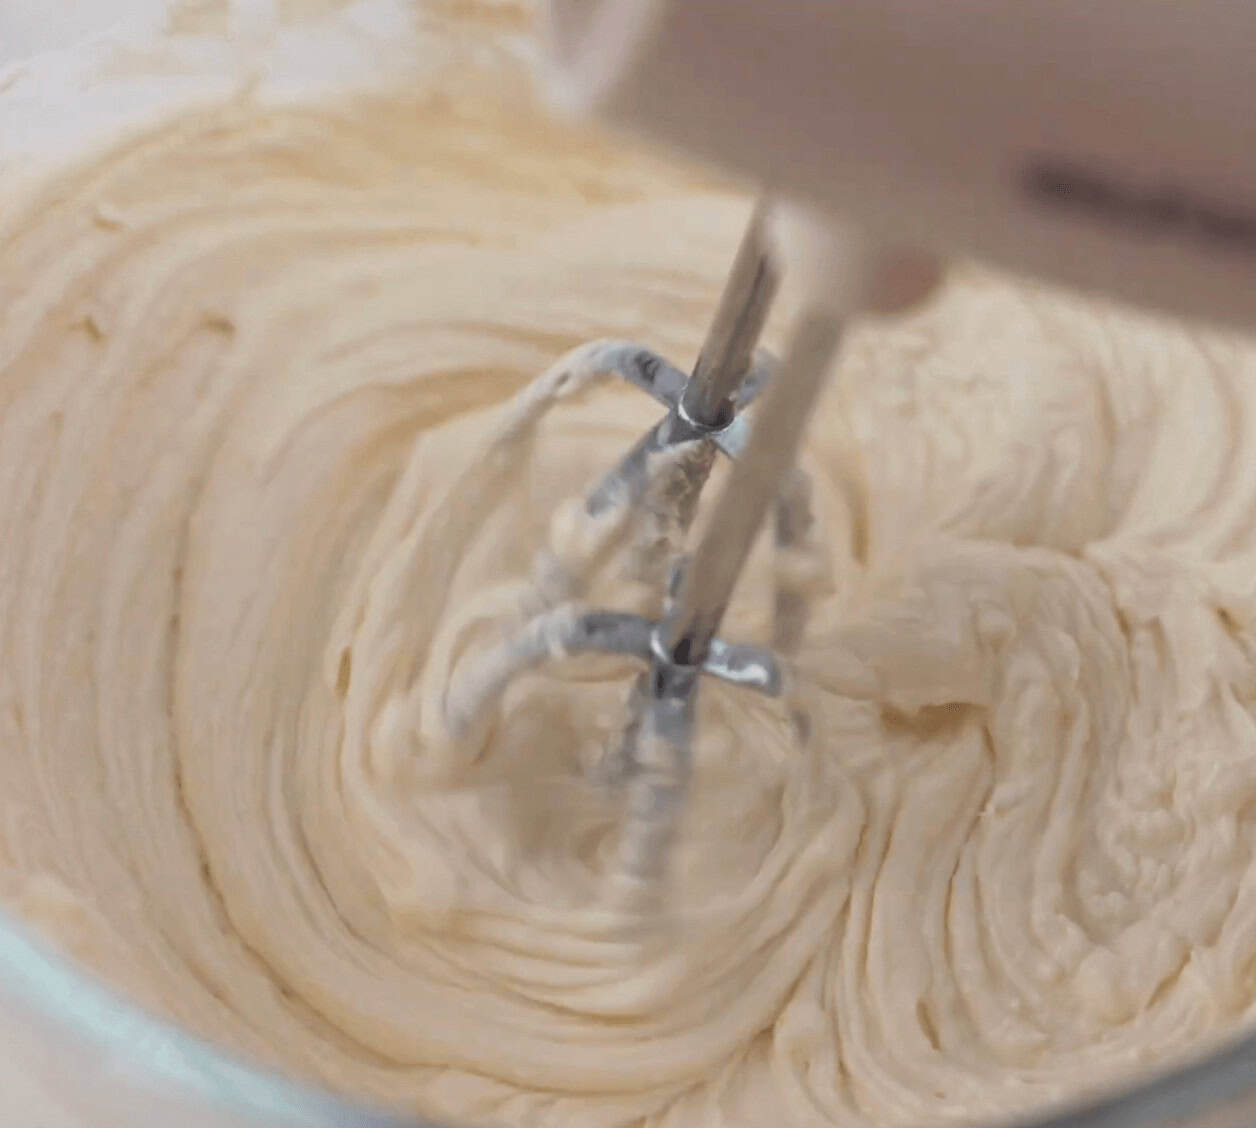
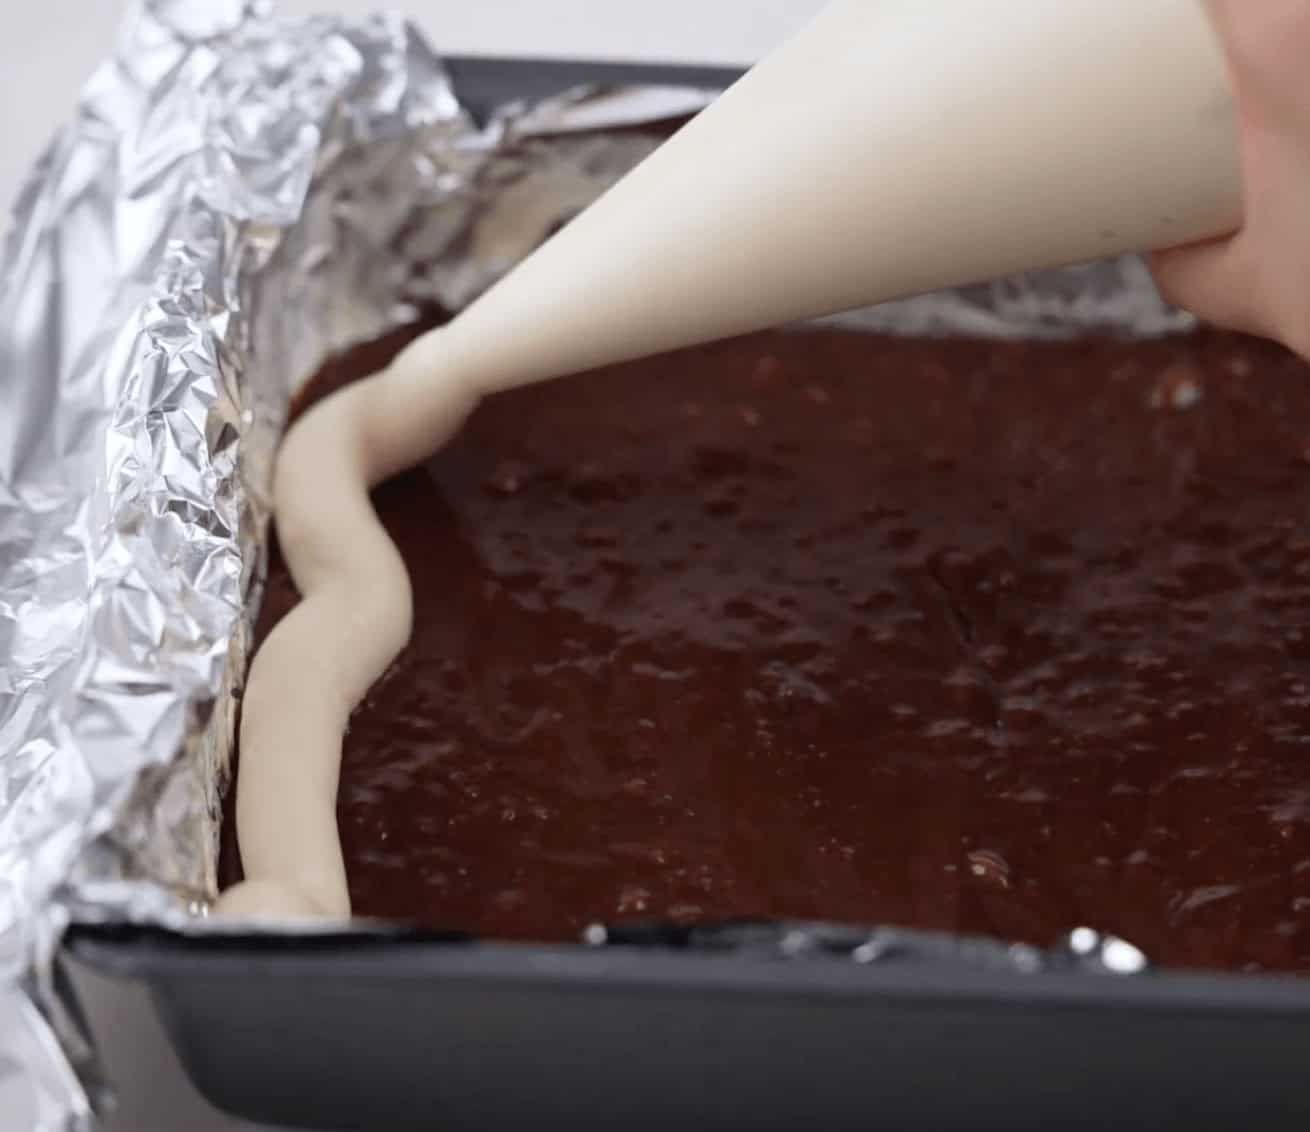
- Whip up your creamy cheese layer in a separate bowl until smooth.
- Layer the brownie batter and the cream cheese filling into your pan, bake until set, and then chill before slicing into squares.
→ For full list of ingredients and instructions, see recipe card below.
How to Prep Ahead
- Bake the brownies completely ahead of time, cool them down, and store them tightly wrapped in the refrigerator for up to four days.
- Cut them into squares right before serving so they stay neat and fresh.
- Storage: Store your cut brownie squares in an airtight container in the refrigerator for up to four days. Keeping them chilled helps maintain the firm texture of the creamy cheesecake layer.
- Freezer Storage: These brownies freeze wonderfully for several months. Wrap individual squares tightly in plastic wrap and place them inside a freezer-safe container or bag so they are ready whenever a craving hits.
Watch Me Make This Recipe
Cheesecake Brownie Recipe
Ingredients
For the Brownies:
- ⅔ cup all purpose flour
- ¼ teaspoon table salt
- ½ teaspoon baking powder
- 2 ounces unsweetened chocolate chopped
- 4 ounces bittersweet chocolate chopped
- 8 tablespoons salted butter cut into pieces
- 1 cup granulated sugar
- 2 teaspoons pure vanilla extract
- 3 large eggs
For the Cheesecake Filling:
- 16 ounces regular cream cheese softened to room temp
- ½ cup granulated sugar
- 1 teaspoon pure vanilla extract
- 2 large egg yolks
Instructions
- Adjust an oven rack to the lower-middle position and preheat oven to 325 degrees F. Line pan with extra long sheets of heavy duty foil so that there is an overhang after pressing foil into the corners/sides of pan. This helps to easily remove entire pan of baked brownies. Butter the foil bottom and sides. Set aside.
- Whisk the flour, salt and baking powder together in a small bowl; set aside.
- In a heavy saucepan, combine the chocolate and butter. Melt on low heat and constantly stir until completely melted and smooth. Whisk in the sugar and vanilla extract; allow the mixture to cool slightly.
- Whisk in the eggs, one at a time, fully incorporating each before adding the next. Continue to whisk until the mixture is completely smooth. Add the dry ingredients, using a rubber spatula to fold until just incorporated.
- Make the cream cheese filling by beating the cream cheese, sugar, vanilla and egg yolks together in a small bowl until evenly blended.
- Pour half the brownie batter into the prepared pan, spreading it in an even layer. Gently spread the cream cheese mixture over the batter. Lay the remaining brownie batter over cream cheese filling.
- Bake until the edges of the brownies have puffed slightly, the center feels not quite firm when touched lightly, and a toothpick or cake tester inserted 1-inch from the edge (not the center) comes out with several moist crumbs adhering to it, about 45-50 minutes. It will not seem fully done, but will set nicely upon cooling.
- Cool completely on a wire rack until room temperature. Once cool, chill at least 3 hours.
- Remove brownies using foil overhang, transferring entire dessert onto a cutting board. Cut into squares and serve; a sharp serrated bread knife works well.
Video
Notes
- Swap the bittersweet chocolate for semi-sweet chocolate if you prefer a sweeter brownie.
- Toss in a handful of chopped walnuts or chocolate chips for extra texture.
- Serving Tip: For the cleanest cuts and best flavor, slice and serve these straight from the fridge using a sharp serrated knife.
- Storage: Store your cut brownie squares in an airtight container in the refrigerator for up to four days. Keeping them chilled helps maintain the creamy cheesecake layer’s firm texture.
- Freezer Storage: These brownies freeze wonderfully for up to two weeks. Wrap individual squares tightly in plastic wrap and place them inside a freezer-safe container or bag so they are ready whenever a craving hits.
- This recipe is part of our Dessert Bar Recipes collection.
 hearing from you!
Nutrition
Frequently Asked Questions
Stick with real chocolate here. The mix of unsweetened and bittersweet is what gives these brownies their deep flavor and dense, fudgy chew, and cocoa powder alone can’t get you there.
Chilling allows the cheesecake layer and the fudgy brownie layer to set completely. If you cut them while warm, they will crumble and lose their clean edges.
Regular full-fat cream cheese gives you the best rich texture and prevents the filling from becoming too watery while baking.
The edges will puff slightly and the center will still feel a bit soft when touched. A toothpick inserted near the edge should come out with a few moist crumbs.
Yes, make sure your cream cheese is completely softened on the counter before you start. Cold cream cheese will leave little lumps in your filling, and you want that cheesecake layer to be smooth and velvety.
They are actually better when made a day in advance. Baking them the day before gives the layers plenty of time to chill and firm up in the refrigerator, making them much easier to slice neatly for guests.
Yes! Wrap each square tightly in plastic wrap, tuck them into a freezer bag, and thaw overnight in the fridge. They should be fine to be frozen for a couple of months.
More to Cook and Eat
- Classic Chocolate Chip Cookies: Soft, chewy, and always a crowd favorite.
- Easy Lemon Rolls: Bright, tangy, and wonderfully sweet.
- Fudgy Brownies: Pure chocolate flavor for true chocoholics.
- Apple Baked Donuts: Warm and comforting for mornings.


 Posts


0 Comments